
Last Updated: November 1, 2026
Quick Summary
Photoshop 3D integration carries five main risks in a Blender pipeline: layer flattening on import, loss of layer stacking order, colour space mismatches, bit depth truncation and naming drift. You avoid them by exporting each channel group as a separate full bit depth file and rebuilding the layer stack as nodes.
- Blender has no native reader for Photoshop’s layered document structure, so a PSD arrives as a recipe rather than pixels.
- Export one PNG or TIFF per channel group at 16-bit where the source supports it.
- Tag base colour as sRGB and every data map as Non-Colour in the Image Texture node.
- Export alpha unassociated and wire it to the Principled BSDF Alpha input to avoid fringing.
- Lock Mapping nodes to Scale 1.0 and match image resolution to the UV authoring resolution.
Table of Contents
- Why Photoshop 3D Integration Breaks in a Blender Pipeline
- How to Import Photoshop Layers into Blender Without Losing Layer Fidelity
- Photoshop Texture Export for Blender: Formats, Bit Depth and Colour Space
- How to Preserve Transparency in Photoshop Textures
- Common Integration Issues and Their Fixes
- A Risk Checklist Before You Commit a Scene
- Build a Safer Photoshop to Blender Workflow with Matronius
- Frequently Asked Questions
Why Photoshop 3D Integration Breaks in a Blender Pipeline
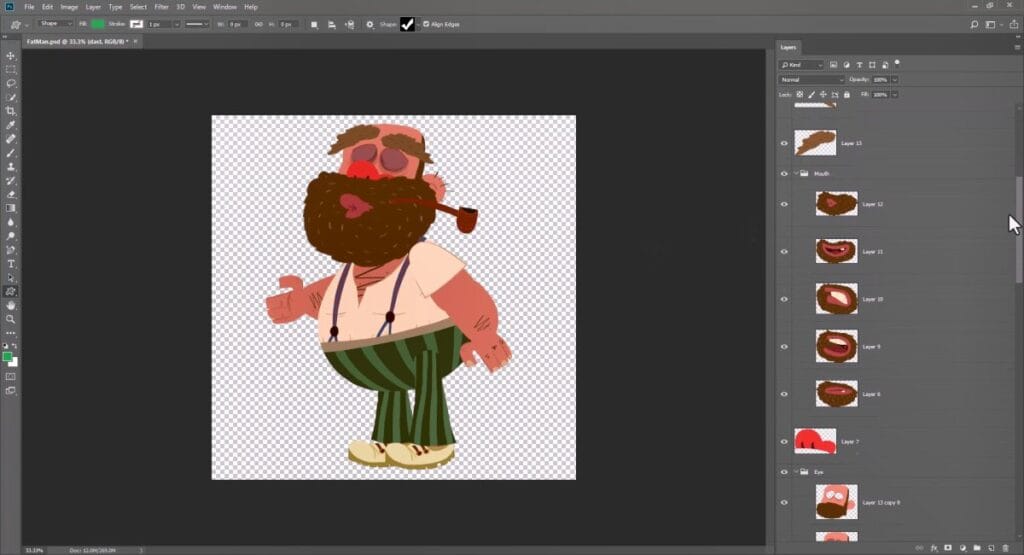
Photoshop 3D integration is the practice of carrying layered Photoshop artwork into a 3D application as usable texture and material data rather than as a flat exported image. In a Blender pipeline, that handover breaks more often than it works, because Photoshop stores layers, blend modes, adjustment layers and masks in a proprietary document structure that Blender has no native reader for. The same pattern appears repeatedly: the artwork is correct in Photoshop, the export looks correct in a file browser, and the result in Blender is wrong.
The root cause is almost never Blender. It is the assumption that a PSD is a container of images when it is really a container of instructions. Blender needs pixels and UV coordinates; Photoshop hands over a recipe.
The five failure points that cost artists the most time
Five faults account for most lost hours:
- Layer flattening on import, grouped layers and clipping masks collapse into a single bitmap, destroying editability.
- Z-order loss, Blender has no concept of a Photoshop layer stack, so stacking order must be rebuilt as a node chain.
- Colour space mismatch, sRGB artwork read as Non-Colour, or the reverse, shifts every value.
- Bit depth truncation, 16-bit and 32-bit source files reduced to 8-bit on export, producing banding in gradients.
- Naming and grouping drift, layers renamed on export no longer match the material slots they were built for.
Watch out: the flattening fault is the expensive one. It rarely announces itself at import; you discover it three days later when a client asks for a colour change and the only editable source is a merged PNG.
If you want the wider context on where these faults originate, browse the Photoshop to Blender resources that cover the integration surface in detail.
How to Import Photoshop Layers into Blender Without Losing Layer Fidelity
Layer fidelity is preserved when each Photoshop layer arrives in Blender as a discrete image datablock wired into its own node, with its original name, alpha channel and stacking position intact. Anything less is a flattened texture with extra steps.
008
Blender’s own image handling is documented in the Blender manual’s image editing reference, which is worth reading before you blame the importer. The manual is explicit that Blender treats each image as an independent datablock; it has no layered image format of its own. That single fact explains most fidelity loss.
Step-by-step: PSD to Blender layer import
This is a sequence that works well under production deadlines:
- Audit the PSD first. Flatten nothing. Check that every layer you need has a unique, meaningful name and that no layer relies on a blend mode Blender cannot reproduce.
- Decide the destination. Base colour, roughness, metallic, normal and alpha each need their own image chain. Group Photoshop layers by destination, not by artistic intent.
- Export per channel at full bit depth. One PNG or TIFF per channel group, 16-bit where the source supports it.
- Import as separate images. Use File > External Data > or the Image Editor’s Open to bring each file in as its own datablock, not as a packed sequence.
- Rebuild the stack as nodes. Recreate Photoshop’s stacking order using Mix nodes and Alpha Over, matching blend mode to node operation.
- Verify alpha and Z-order against the original PSD side by side before you save.
If you would rather follow a dedicated toolset through this sequence, the PSD layer import tools cover the import path specifically. For a deeper treatment of the underlying problem, our guide to maintaining layer fidelity in 3D software walks through the full method.
Photoshop Texture Export for Blender: Formats, Bit Depth and Colour Space
Photoshop texture export for Blender succeeds when format, bit depth and colour space are chosen per map rather than per project. The wrong combination produces textures that look acceptable in the viewport and wrong in a final render, which is the worst possible failure mode because it hides until delivery.
Map type | Format | Bit depth | Colour space |
|---|---|---|---|
Base colour | PNG or TIFF | 8 or 16-bit | sRGB |
Roughness / metallic | PNG | 8-bit | Non-Colour |
Normal | PNG or TIFF | 16-bit | Non-Colour |
Displacement / height | TIFF or EXR | 16 or 32-bit | Non-Colour |
Alpha / mask | PNG | 8-bit | Non-Colour |
The rule that matters: any map carrying data rather than colour must be tagged Non-Colour in Blender’s Image Texture node. Base colour is the only map that belongs in sRGB. Get this backwards and every material in the scene reads at the wrong brightness.
Bit depth is the second lever. Eight-bit is fine for masks and roughness; it is not fine for normal maps or displacement, where banding becomes visible as stair-stepping on curved surfaces. Export those at 16-bit and keep them there through the import.
How to Preserve Transparency in Photoshop Textures
Transparency survives the trip only if the alpha channel is exported as a separate, unmultiplied channel and reconnected in Blender’s shader graph. Photoshop’s transparency is stored as an alpha channel; Blender reads it, but only if the file carries it and the node uses it.
Three habits prevent most alpha loss:
- Export PNG with alpha, never JPEG. JPEG has no alpha channel and will composite transparency onto white or black depending on your export settings.
- Keep alpha unassociated. Premultiplied alpha imported into Blender’s Alpha input produces dark fringing on hair cards and eyelashes, the two asset types where it shows most.
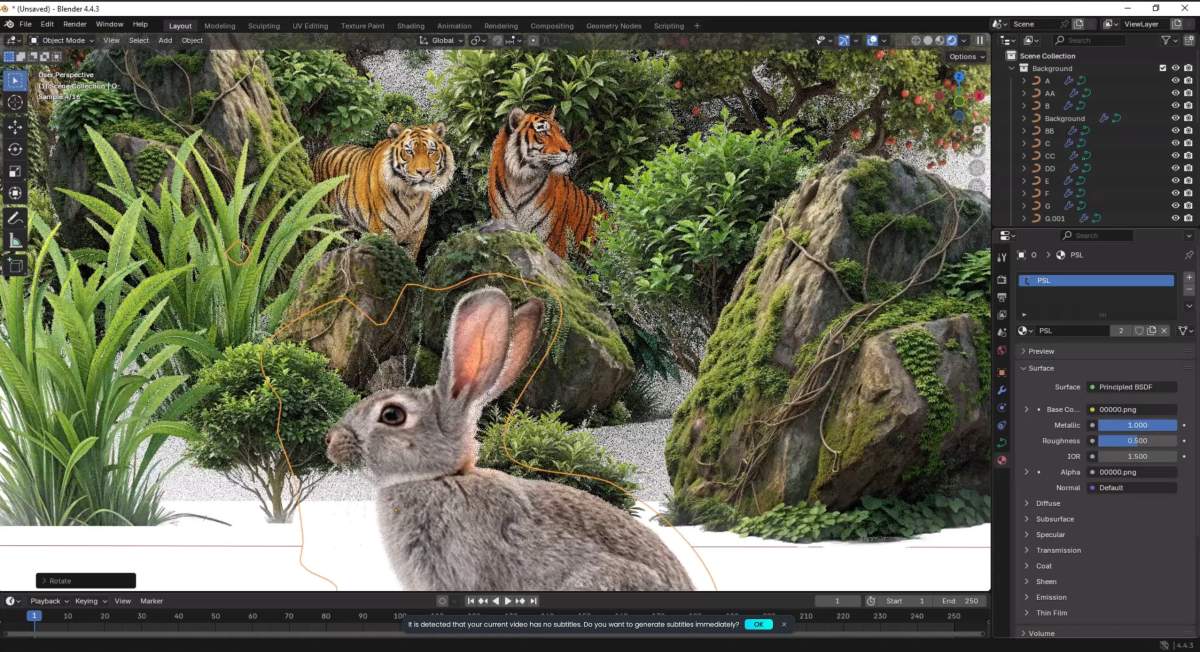
- Wire alpha explicitly. Connect the image’s Alpha output to the Principled BSDF’s Alpha input, and set the material’s blend mode to Alpha Hashed for stills or Alpha Clip for game export.
Watch out: hair and fur cards are where transparency failures become unrecoverable. If the alpha arrives premultiplied, no amount of node tweaking fully removes the fringe, and you will be re-exporting from source.
Common Integration Issues and Their Fixes
Common integration issues fall into three families, and each has a known fix. Recognising which family you are in saves the diagnostic hour.
Scale and alignment drift
Scale drift appears when the texture’s intended UV coverage no longer matches the mesh. The usual cause is an export at a different resolution than the one the UV layout was authored against, followed by a Mapping node left at default. Fix it by locking the Mapping node’s Scale to 1.0, confirming the image resolution matches the UV authoring resolution, and checking that no Texture Coordinate node is feeding Object coordinates where UV was intended.
Colour and gamma shifts
Gamma shifts present as materials that look washed out or muddy. Nine times in ten, a data map has been tagged sRGB. Re-tag the image as Non-Colour in the Image Texture node and the shift resolves immediately. If it does not, check the file itself: a normal map exported through a colour-managed Photoshop profile carries a baked gamma curve that no node setting will undo.
Corrupted or flattened layers
Corruption and flattening are the two ends of the same failure. A PSD saved with an unusual compression setting can arrive truncated; a PSD imported through a tool that does not understand groups arrives flat. The fix in both cases is the same: re-export from the original PSD as discrete per-channel files rather than trying to repair the import.
A Risk Checklist Before You Commit a Scene
Run this checklist before any scene leaves your machine. It takes minutes and catches the faults that cost days.
- Every texture is a separate image datablock with a meaningful name
- Base colour tagged sRGB; all data maps tagged Non-Colour
- Normal and displacement maps exported at 16-bit or higher
- Alpha exported unassociated and wired to the Principled BSDF Alpha input
- Mapping nodes locked to Scale 1.0 with UV coordinates feeding them
- Layer stacking order rebuilt in nodes and verified against the source PSD
- Image resolutions match the UV authoring resolution
- No texture relies on a Photoshop blend mode Blender cannot reproduce
- Source PSD archived and versioned alongside the Blender file
For the broader pipeline context around this checklist, explore the Blender Photoshop workflow resources before you finalise your setup.
Build a Safer Photoshop to Blender Workflow with Matronius
The checklist above is manual work, and manual work is where integration risk lives. Matronius develops one-click workflow plugins that automate pipeline handovers between Photoshop, Blender and DAZ Studio. Our universal installer handles third-party Daz products, and our Blender to DAZ Studio bridge is designed to keep rigs intact.
If you want to see the plugin that automates this handover, take a look at our Photoshop to Blender plugin and judge the layer handling for yourself.
Frequently Asked Questions
What are the main risks when integrating Photoshop assets into a 3D workflow?
The biggest risks are flattened or corrupted layer stacks, lost transparency channels, colour and gamma shifts when moving from sRGB to linear colour space, scale and alignment drift between the 2D canvas and the 3D surface, and file-format mismatches that strip metadata. Each one is preventable with a consistent export preset, a fixed unit scale, and a test import before you commit a scene. Treat Photoshop 3D integration as a pipeline with checkpoints, not a single drag-and-drop action.
Can you import Photoshop layers into Blender?
Yes, but not natively. Blender does not read PSD layer stacks directly, so you either export each layer as a separate PNG or TIFF and rebuild the stack in the shader editor, or use a bridge tool that maps layer order to material nodes. Whichever route you take, name layers consistently and keep the Z-order documented, because Blender has no concept of a Photoshop layer stack once the file leaves Photoshop.
How do you preserve transparency when moving Photoshop layers into Blender?
Save layers with an alpha channel intact, using PNG-24 or TIFF with alpha rather than JPEG. In Blender, connect the image’s Alpha output to the Principled BSDF Alpha input and set the material blend mode to Alpha Blend or Alpha Hashed depending on whether you need sorting. Check the alpha in the Image Editor first; if the checkerboard is missing there, the export stripped it and no shader setting will bring it back.
Why do Photoshop textures look different in a 3D application?
Photoshop works in sRGB by default, while Blender’s shader pipeline expects colour data in sRGB but non-colour data such as roughness, normal and metallic maps in Non-Colour. If a roughness map is tagged sRGB, it renders too bright and washed out. Set the colour space per image in Blender’s Image Editor, and export 16-bit files where banding appears in gradients. A quick side-by-side render against the Photoshop canvas catches most shifts before they reach a final frame.
The real risk in Photoshop 3D integration is not the software; it is the assumption that a PSD and a Blender material are the same kind of object. Treat every import as a translation with known failure points, and the faults become routine rather than expensive. Matronius builds the tools that make that translation predictable, with layer fidelity, Z-order mapping and one-click automation built in. Get started with Matronius and stop rebuilding your layer stack by hand.
